How to Reseal Headlights - Step-by-Step Tutorial
 Whether you’re installing a conversion, simply want to clean up, or even offer legitimate protections, there are plenty of reasons to reseal your headlights. Unfortunately, it can be a costly process if you take it to a mechanic. What’s worse, is that the process of resealing your headlights is actually pretty easy to do and doesn’t even require any special tools beyond a few hand tools. That’s why we’ve taken the time to provide you a step by step list of instructions for how to properly reseal your headlights. But first, let’s take a look at the different tools and materials you’ll need and some you just may want.
What You Need
Here's a list of the items that you absolutely must have in order to successfully reseal your headlights:- Flathead Screwdriver (Hand Tool Only)
- Phillip’s Head Screwdriver (Hand Tool Prefered)
- Needle Nose Pliers
- Clamps
- Safety Gloves (Mechanics or Baking)
- Safety Goggles
- Sealant
- Standard Baking Over
- Lock Ring Pliers or Panel Pliers
- Silicone or Rubber Pad
- Sorting Tray
- Compressed Air Blower
- Goo Gone
- Writing Utensils
Step-by-Step Instructions
Step 1: Unfastening the Headlight
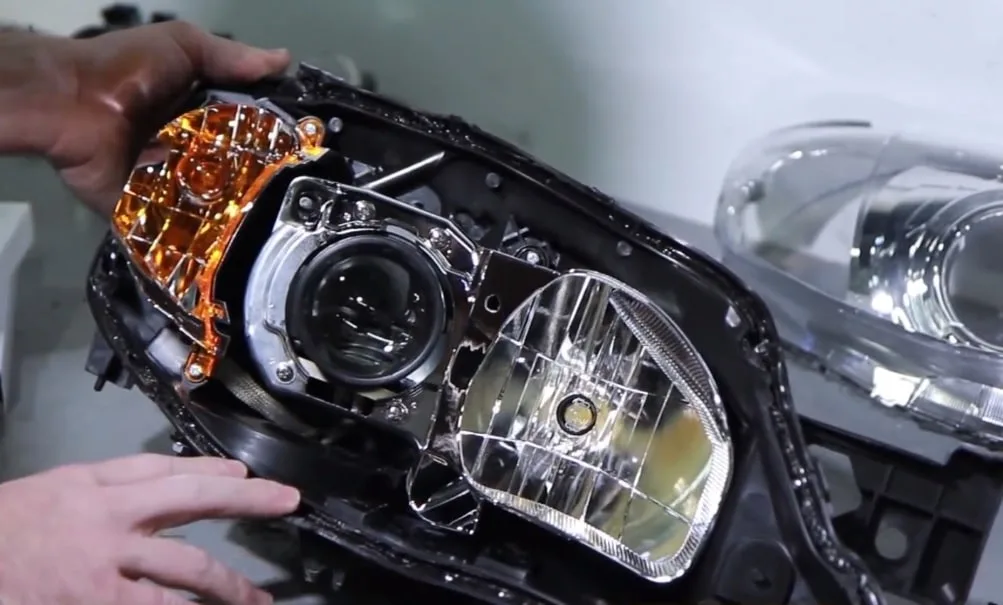
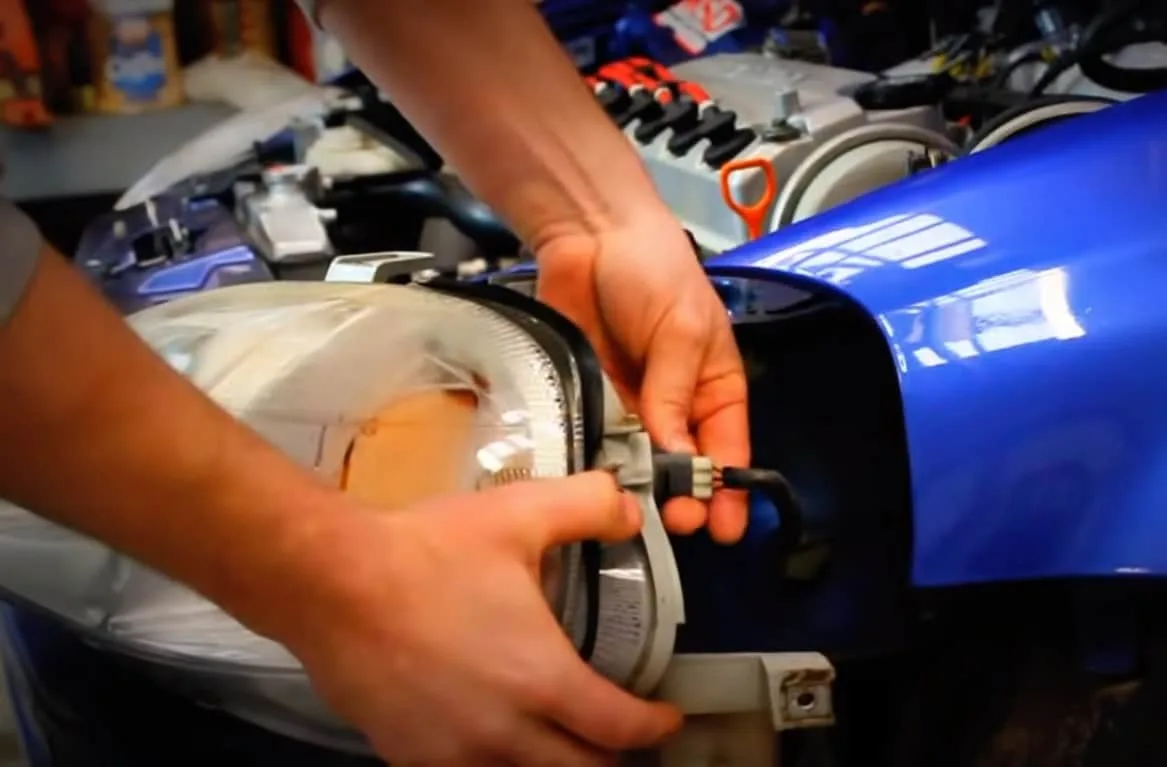 Depending on the make and model of your vehicle, you may not need to concern yourself too much with this step. Basically, some better-made headlights use both plastic, molded tabs as well as screws. It's the latter that's not always a given and must be removed before continuing with the rest of the process. In this instance, you'll want to remove the screws and place them in your sorting tray. These screws will generally require the Phillip’s head screwdriver, though, in some rare instances, there may be a more exotic head required.
Step 2: Softening the Sealant
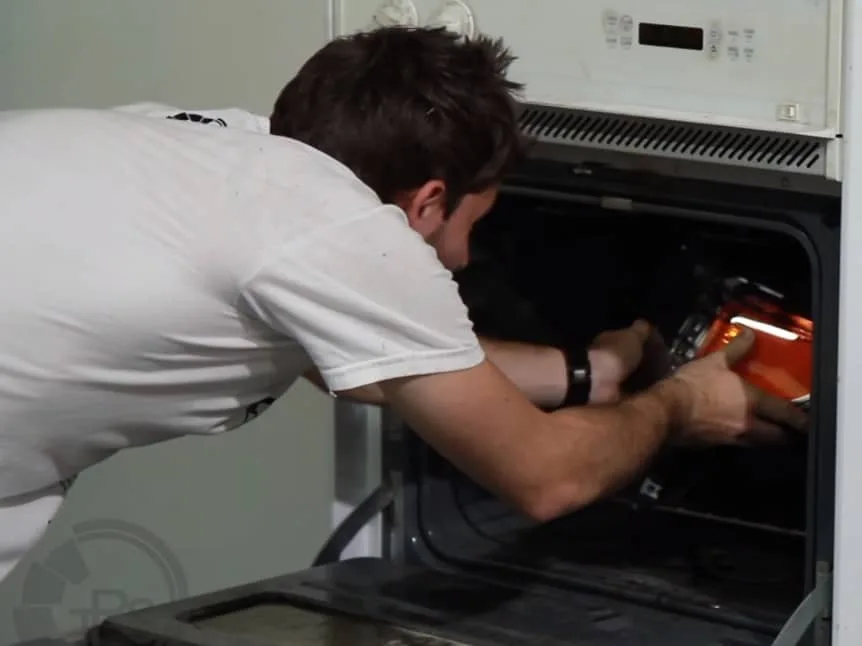 This step is not exactly necessary, but it will make working significantly easier and minimize the general scuffing and scratching. Moreover, this step all but ensures that you won’t damage the headlight body chassis while prying. Basically, you'll want to bake the headlight in a conventional baking oven. The best temperature ranges between 230-degrees and 250-degrees Fahrenheit. At these temperatures, the sealant will soften enough to become pliable without becoming too gooey to be worked with cleanly. The temperature will determine the amount of time you need to bake the headlight. At 240-degrees Fahrenheit, you only need to bake the headlight for about 20 minutes at a time.
 Chris Robson Auto Mechanic
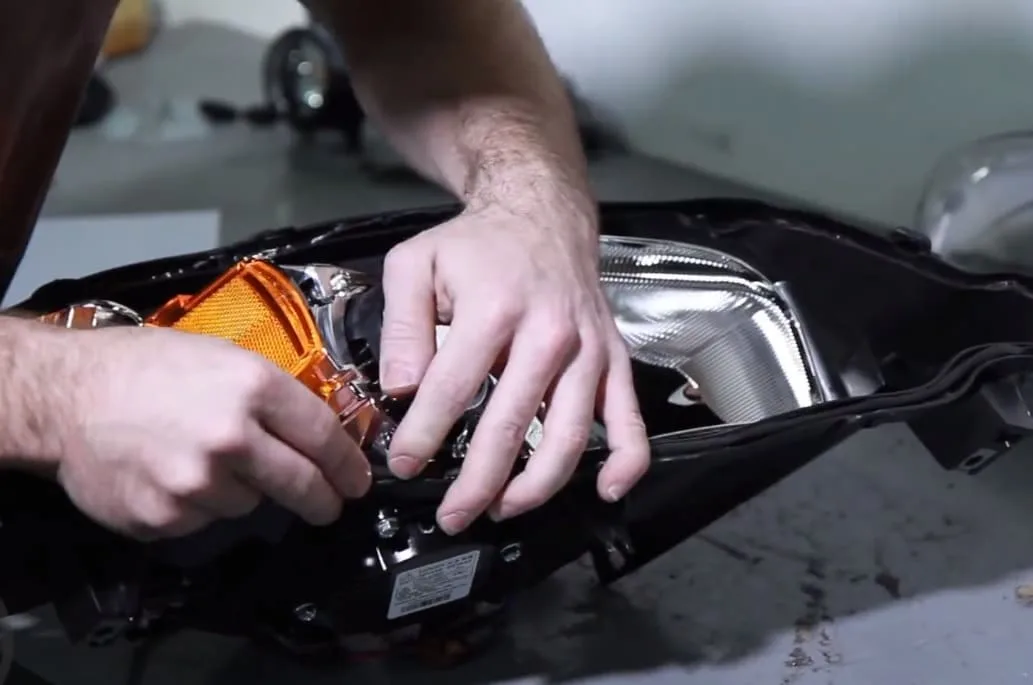
Step 3: Prying the Headlight
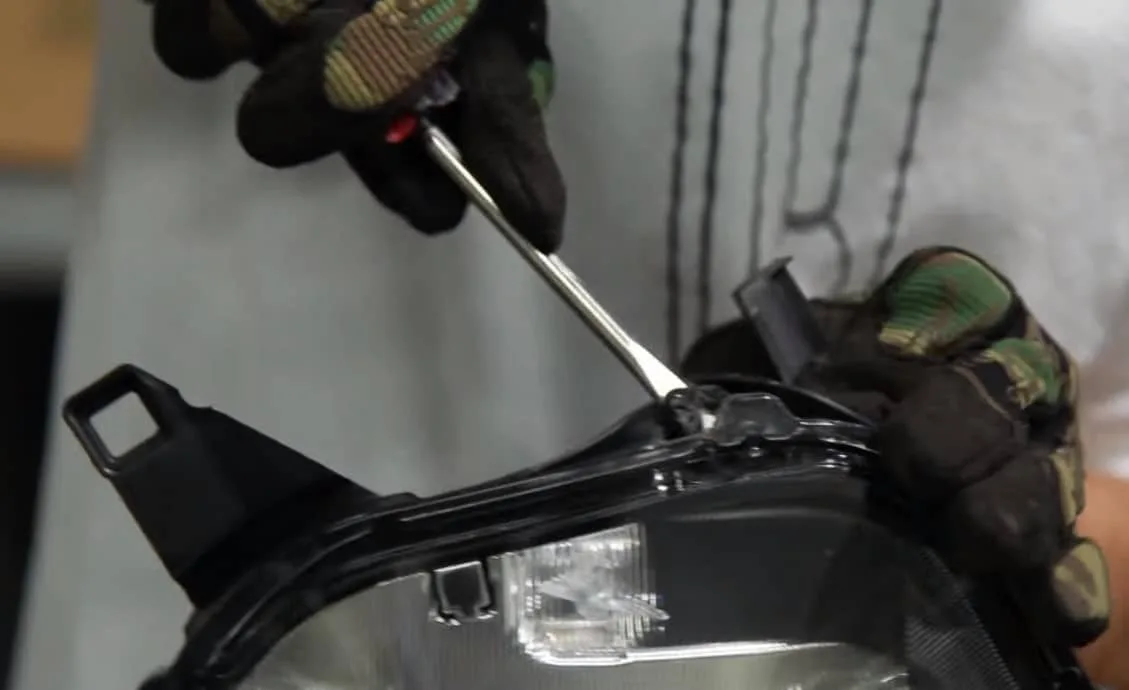 Once you’ve baked the headlight to the point of loosening the sealant, you can begin to pry open the headlight. If you do not have lock ring pliers, then you will need to use the flathead screwdriver. Keep in mind, lock ring pliers are not especially difficult to find nor especially expensive and make prying the headlight much easier. Not only will you save time, which will prevent having to rebake the headlight to loosen the sealant, but you will also minimize the amount of force needed to pry open the headlight. The less force you have to use, the less damage you will do to the plastic frame of the headlight body
Chris Robson Auto MechanicChris Robson Auto Mechanic
Once you’ve baked the headlight to the point of loosening the sealant, you can begin to pry open the headlight. If you do not have lock ring pliers, then you will need to use the flathead screwdriver. Keep in mind, lock ring pliers are not especially difficult to find nor especially expensive and make prying the headlight much easier. Not only will you save time, which will prevent having to rebake the headlight to loosen the sealant, but you will also minimize the amount of force needed to pry open the headlight. The less force you have to use, the less damage you will do to the plastic frame of the headlight body
Chris Robson Auto MechanicChris Robson Auto MechanicStep 4: Preparing the Sealant
 You are going to want to prep your new sealant much in the same way that you prepped the old sealant already in your headlights: by baking it. However, it is important to understand that the new sealant does not need to get as soft as the old sealant did, yet. As such, where you baked the headlight for about 20 minutes, this time you’ll only need to bake the new sealant for around 7 minutes. On top of that, you don’t need to do any other special prep to the sealant. You don’t even need to take it out of the box or separate it from its wax paper divider.
Chris Robson Auto Mechanic
You are going to want to prep your new sealant much in the same way that you prepped the old sealant already in your headlights: by baking it. However, it is important to understand that the new sealant does not need to get as soft as the old sealant did, yet. As such, where you baked the headlight for about 20 minutes, this time you’ll only need to bake the new sealant for around 7 minutes. On top of that, you don’t need to do any other special prep to the sealant. You don’t even need to take it out of the box or separate it from its wax paper divider.
Chris Robson Auto MechanicStep 5: Testing the Light
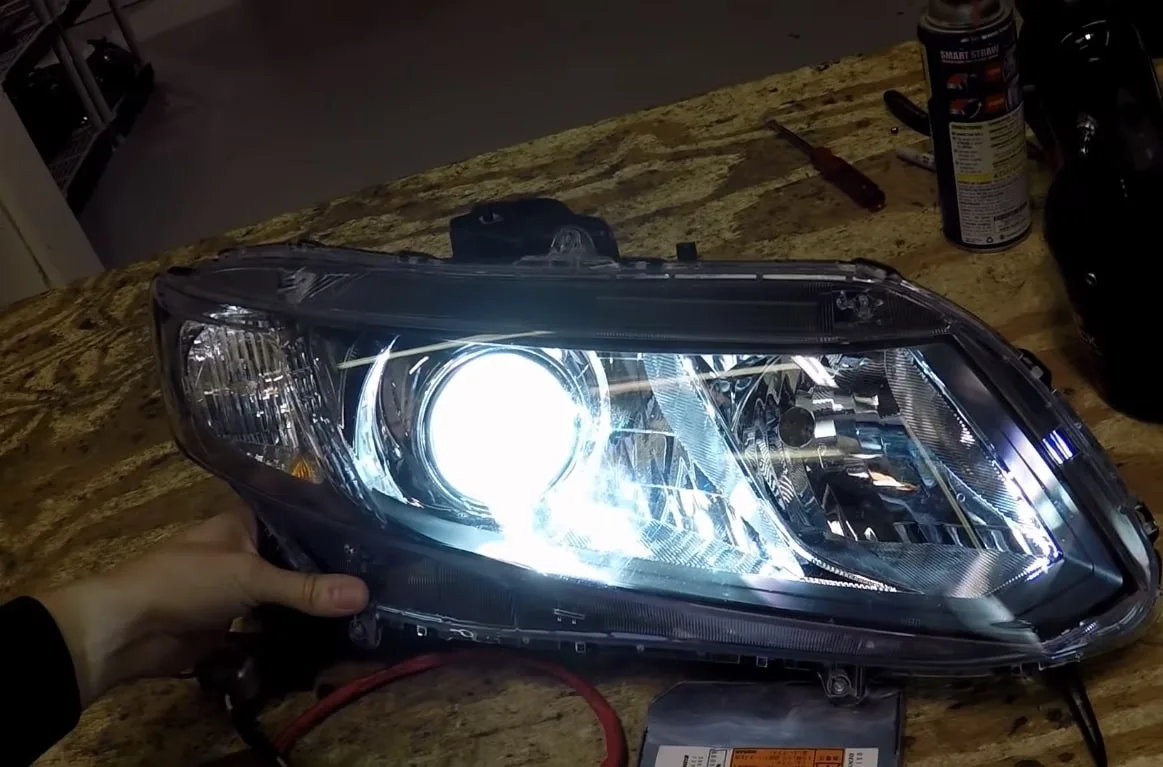 We didn’t cover this earlier because it doesn’t really matter all that much--assuming you follow the other directions properly. Some people take out the bulbs and ballasts and any other components they may have, especially if they have conversion kits. At lower temperatures, you don’t actually have to worry about damage. This is when you will be cleaning the inside of the headlight cover. As such, you will need to reinstall the headlight bulbs if you removed them to make sure that the headlight cover is clean and free from deformation or discoloration.
Step 6: Baking the Sealant
Baking the sealant is going to work pretty much just like with baking the headlight the first time, except this time you have had an opportunity to get into something of a rhythm if you have been following these steps in sequence with each half of the headlight. One thing to keep in mind is that the new sealant will be sitting on top of the old sealant, so if you’re not careful, it can overflow. This is especially true if you bake your headlights at higher temperatures where the sealant will expand and flow more easily.Chris Robson Auto MechanicStep 7: Clamping the Headlight
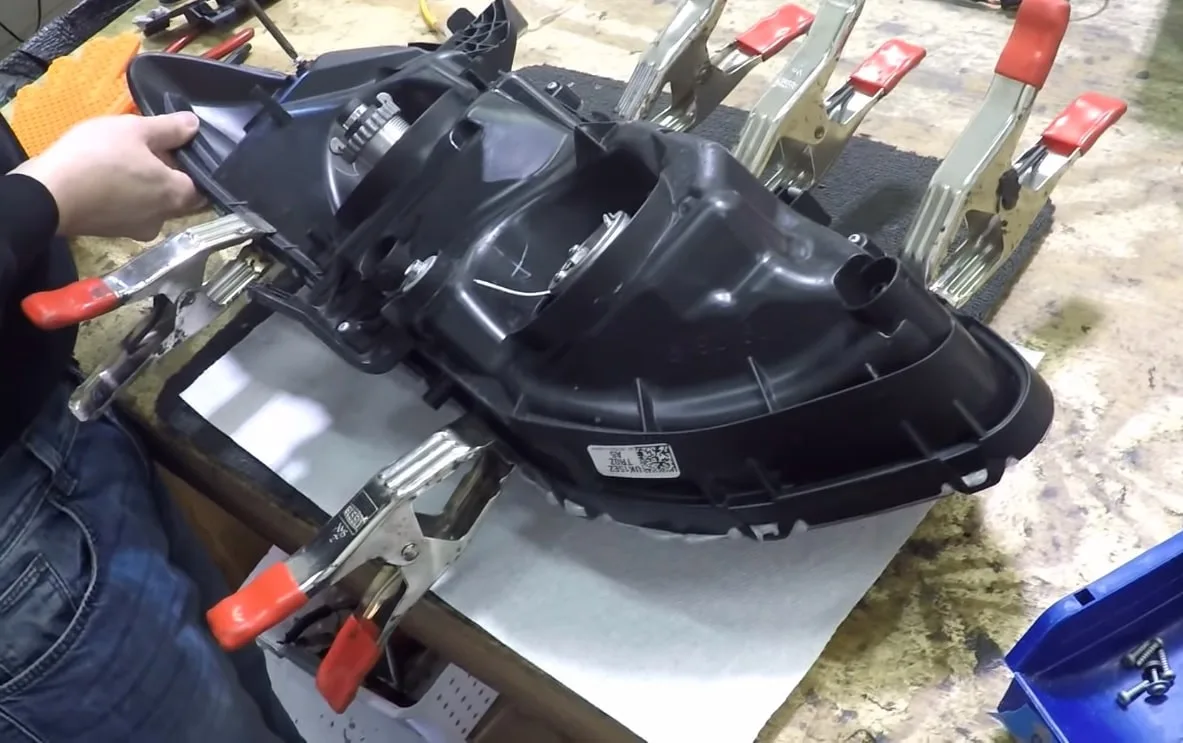 The principle remains the same no matter what tools you use for the job, though different people choose different fasteners. Some people will even use rope or paracord to keep the headlight body fastened together, but actual clamps are the best option. This is because the clamps will not only provide a fairly even distribution of force across the body but they are also less likely to damage the headlight. Ropes and paracord can rub against the cover or create sharper pressure points on the plastic.
Chris Robson Auto Mechanic
The principle remains the same no matter what tools you use for the job, though different people choose different fasteners. Some people will even use rope or paracord to keep the headlight body fastened together, but actual clamps are the best option. This is because the clamps will not only provide a fairly even distribution of force across the body but they are also less likely to damage the headlight. Ropes and paracord can rub against the cover or create sharper pressure points on the plastic.
Chris Robson Auto MechanicStep 8: Removing Excess Sealant
This step is technically part of the cleanup but is vital to a proper seal. Using the process we have outlined, you should expect sealant to overflow from the side of the headlight body as you seat it. Once that overflow has cooled to a point where it is no longer gooey, you’ll want to begin cleaning it off the headlight body. If you start cleaning the excess off too soon, you’ll just make a mess that you’ll still have to clean off after it cools. The easiest way to clean the excess sealant is with goo gone, though there are other methods as well. Still, even goo gone works best when the sealant is cooled a bit.Chris Robson Auto MechanicConclusion
 As we can see, resealing a headlight is actually a pretty simple process. You need to be mindful of temperatures and timing, but that’s true anytime you use the oven. Just remember that there is no point in trying to force the sealing process. If you make a mistake, don’t worry. You can always rebake the sealant and try again. What you may not be able to do is fix your headlight if you mess it up by not following the steps we’ve laid out.
If you bake your headlight at too high of temperatures or use too much force when prying the headlight body apart the first time, there’s no going back from that. Now you just need a new headlight. Be careful! That’s why we stress carefully following these instructions and not hesitating to throw the headlight back in the oven to bake a little bit longer if the sealant isn’t pliable. Leave a comment below to share with us any pro tips you know for resealing headlights.
Reader comments (4)
Comments are preserved from our previous site and shown read-only.
I would like to do this to my 1992 s10 blazer tail lights, but I fear adhesive is to old or not a kind I can bake in the oven to loosen. The reason for doing this because I want to make my own custom tail lights.
I took my 2012 Grand Sport Corvette to a dealership to service it, repair the gasket around the headlight. My headlights were clear with just a start of some condensation. I went to look at my car and there looks like something rough like glue of some sort all over the lens on both sides. Dealership states that it is my headlights starting to yellow and all vettes do that after 6 years. Also that they didn’t do it. I have pics of my car including the lights a week before I took it to them. It shows my headlights were clear. They’ve had my car for 2 1/2 weeks. Now they want to send my car to a company that will fix them and film it again. I’m afraid I am going to get stuck with yellowing lights. They refuse to replace my lights even when I showed them the pics
hi
my name is ramez and i have work shop we have alot of head lights broken Mercedes Audi Porsche BMW rang rover
and lens inside look good
i hope if there is away to fix all this lights or tell me how we can work to gather
i can provide 1000 of lights i work with insurance
please contact me on whats app 0096891205120
I want to talk to u . As I have 3000 kgs headlights which glass to be separate. My mno is 9314522525.