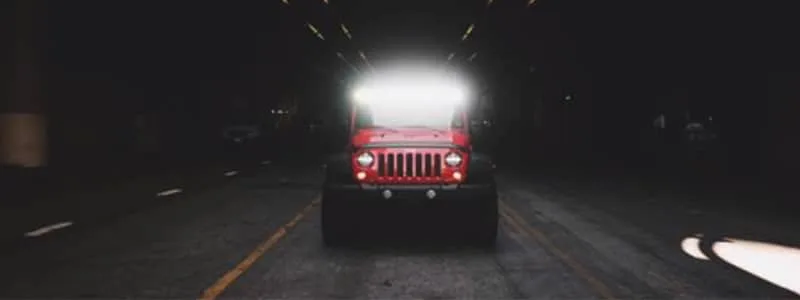
Headlights & Lighting
Factory lighting gets you by, but maximizing your visibility requires the right upgrades—whether you’re hitting pitch-black off-road trails or just trying to navigate a rainy highway safely. Upgrading to high-output LED or HID systems completely transforms your nighttime driving experience, but it also comes with unique technical challenges like hyper-flashing, error codes, and strict legal regulations.
Select a guide below to upgrade your output, fix a frustrating lighting issue, or optimize your workshop setup.
Buyers Guides
 Best Curved LED Light Bars () - Buyer’s Guide
 Best Ditch Lights for Jeeps and Trucks
 Best F150 LED Headlights - Buyer’s Guide
 Best HID (Xenon) Conversion Kit - Buyer’s Guide
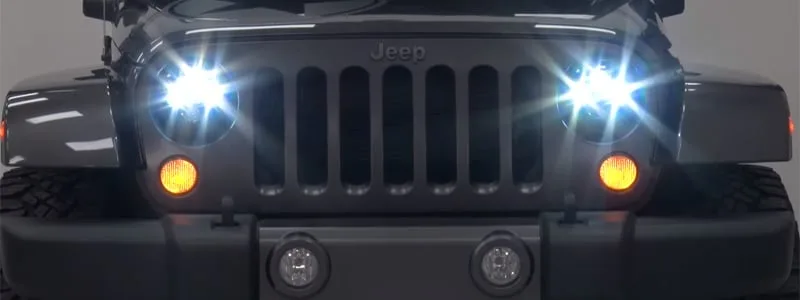 Best Jeep Wrangler LED/Halo Headlights Review - Buyer’s Guide
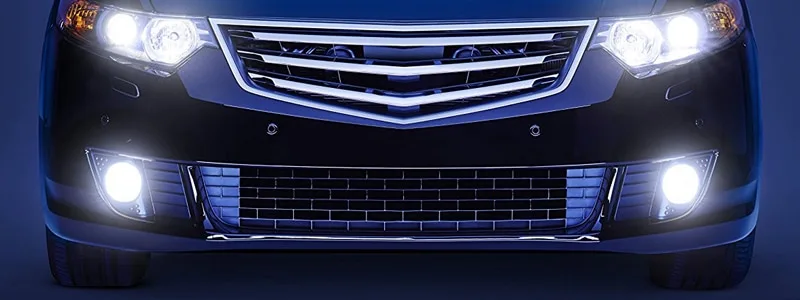 Best LED Fog Light Bulbs - Buyer’s Guide
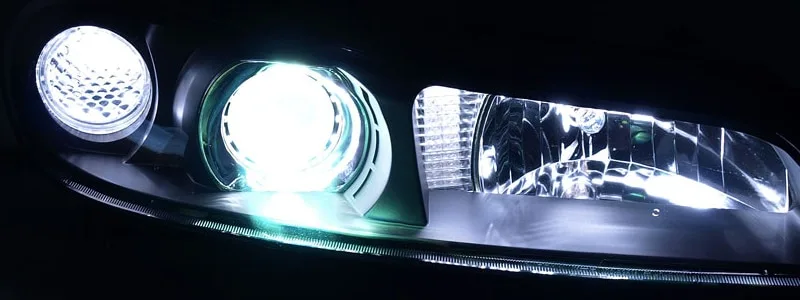 Best LED Headlights Reviews (2023 Summer)
 Best LED Lights for Garage Workshop - Ideas, Reviews & Buying Guide by Professional Installers
 Best Tailgate Light Bars Reviews - Buyer’s Guide
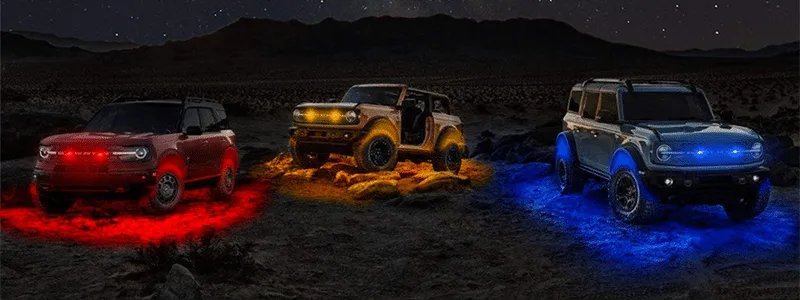 What Are the Best LED rock Lights for your Jeep, Truck or SUV? Find Out in Our 2021 Review
Information and Tutorials
 Are LED Headlights Legal? SAE and DOT Regulations Explained
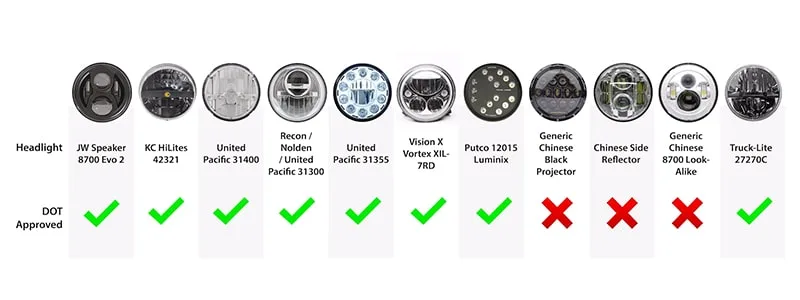 DOT Approved LED Headlights and SAE Certification Explained
 How To Fix Flickering LED Headlights & CANbus Error Codes Explained
 How to Install Garage Lighting: A Quick Setup
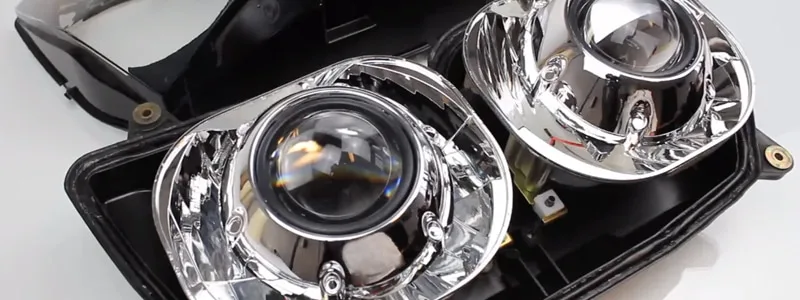 How to Reseal Headlights - Step-by-Step Tutorial
How to Aim and Align your Headlights
If you've replaced your headlights, the vehicle has been in a collision, or you plan on carrying a lot more weight in the vehicle than you normally would, it may be necessary to adjust the aim of your headlights. This process can easily be done on any flat surface with 25 feet of room from a vertical, straight walk.
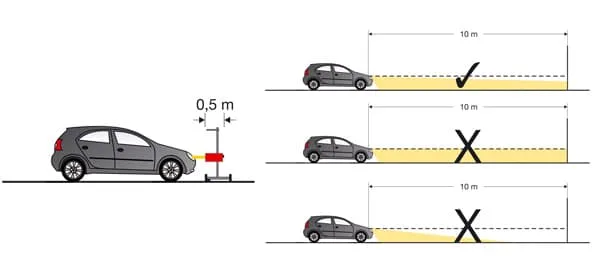
Back our vehicle up in a straight line, 25 feet to the front of the headlights. It's important that you make sure all four of your tires are at the appropriate air pressures, your vehicle has about a half a talk of gas in it, and it should also have any loads that the vehicle regularly carries, such as tools, equipment, or any type of supplies that may weigh down any part of the vehicle. Check the marking on your headlight. It could be a DOT VOR, which is a visibly aim-able headlight, as well as DOT VOL, and DOT VO. Also, depending on your vehicle and location, you may have an ECE or E CODE headlamp. All of these are visually aim-able in similar ways to the one that we're going to show you.
If your vehicle is older and does not have a US DOT marking on it, then it needs to be aimed with a mechanical aiming device that's pretty hard to come by. So, for your best bet, is to do the best you can, visually aiming it with a board or wall like we'll show you here.
Double-Check Weights in Vehicle
After you've checked all your other things, like your air pressure and the weight in the vehicle, you'll want to jounce your suspension. Grab a firm part, either the bumper or the radiator support, and rhythmically bounce it up and down a few times and allowing the suspension to settle. This will make sure that it's at its appropriate ride height and isn't stuck in an odd position. It'll just set everything level into the proper ride height.
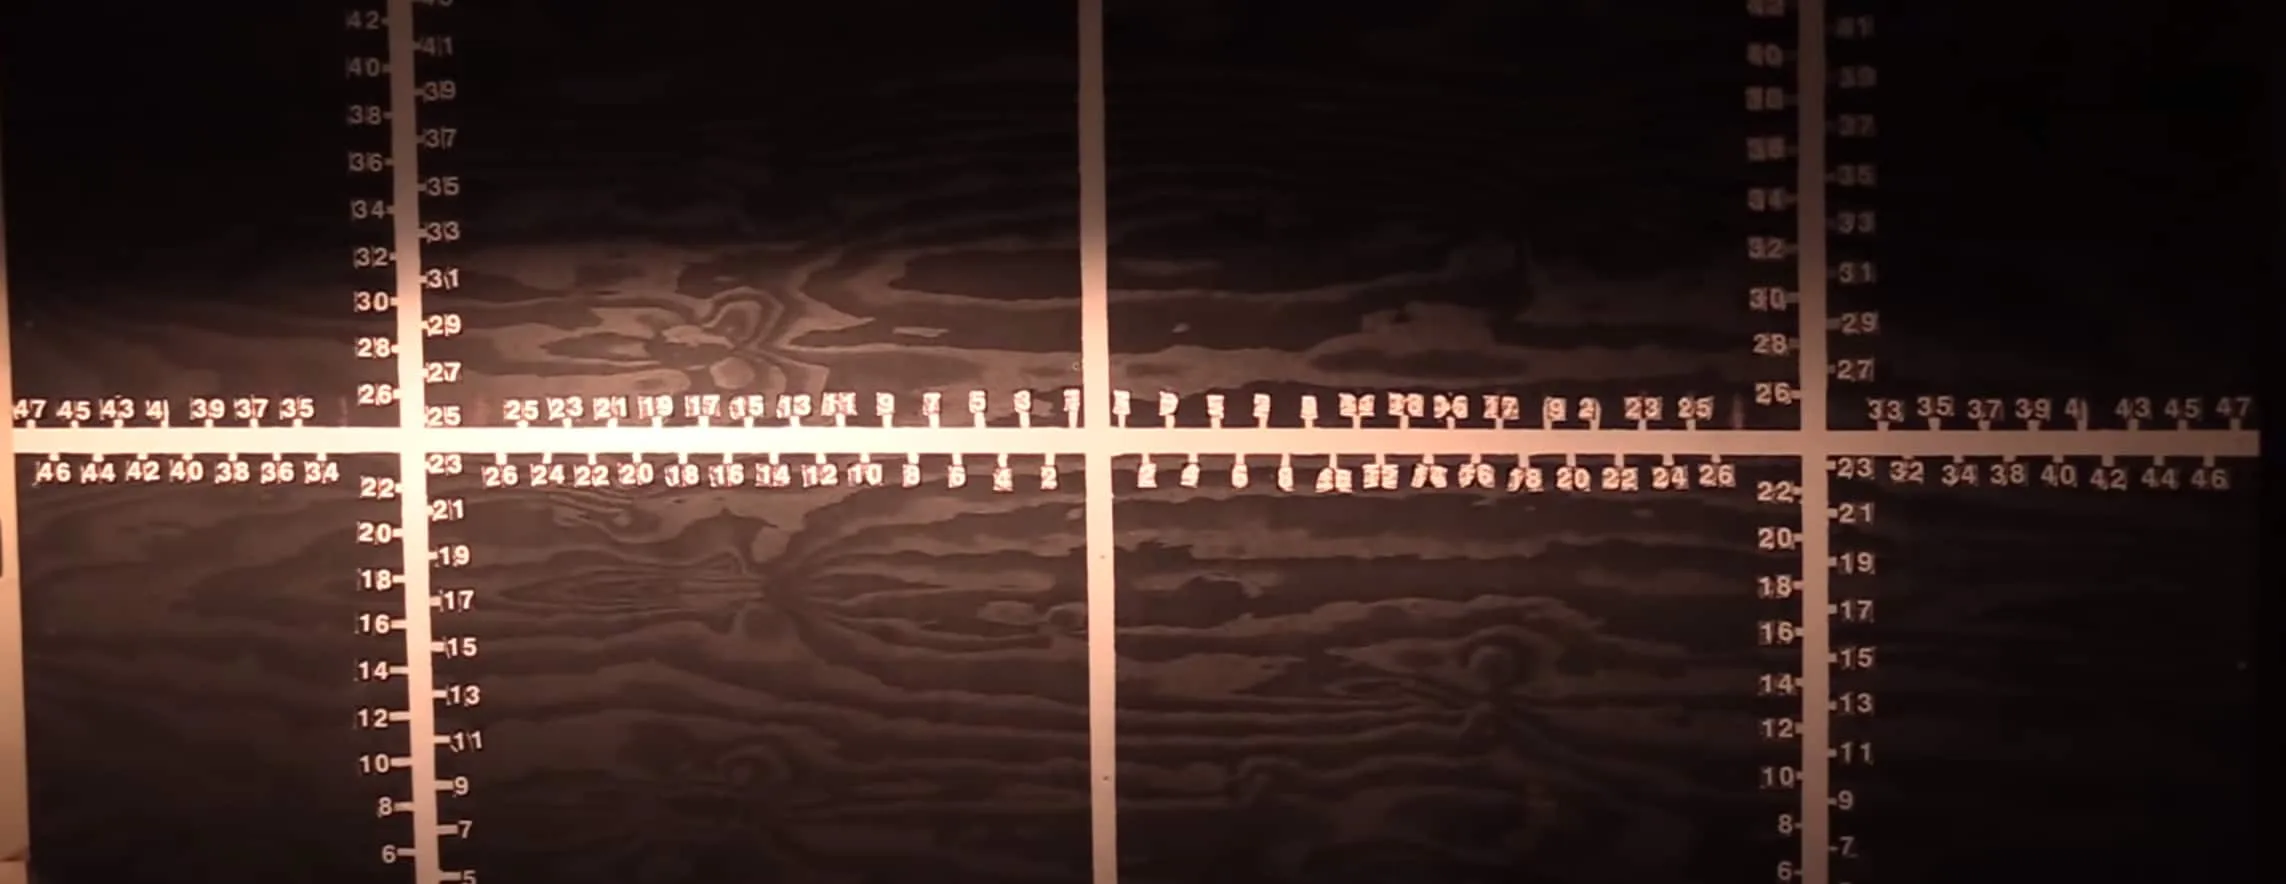
So, we have a little dot in our lens that you can see there. I just used a dry-erase marker there to show you where it is. You're going to put a little dot over that. You don't need to do this, but I feel it makes it a lot easier. Take a tape measure and measure from the ground to the center of that dot on our vehicle.
Adjust The Headlights
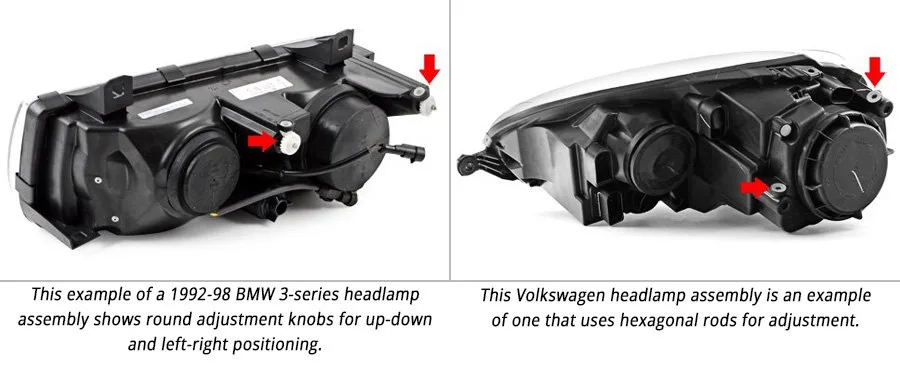
The next thing you want to locate is your headlight adjusters. Now, these are going to be in different places on every vehicle, but ours has a toothed wheel down here, with a hex on it, so we can adjust that with either a ratchet or putting a little screwdriver in there and clicking it clockwise or counterclockwise. You may also have horizontal adjustments, but for our vehicle, it's just these.
With our headlights on, we've shut off the lights in our shop. If you are doing this outside, you'll want to do it at night. This line here, is our headlight cut off. That's what we'll be using to adjust from. Above that, is dark and below that, is where the brightest portion of the headlight is.
So, we have our socket and ratchet on the adjuster. We're going to see which way moves the headlight. You also don't want to push against the headlight in any way.
Usually clockwise is bringing it up. We're going to rotate it counterclockwise. Again, we're using a headlight aiming board, but you can easily do this with a piece of tape, and marking everything off. Adjusting fog lights as well is very similar.