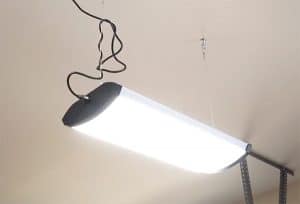
Therefore, if you have a plan or an idea which can change the world, but you don’t have extra money to pay for rent, you can always begin your business in a garage. Or if you have a hobby, which requires some space, your garage can be a good fit. However, in most of cases the lighting in the vast majority of garages is in the form of a single light bulb, which is not enough. Consequently, you’ll need to install better garage lightning. Here you will find info about the things you’ll need and guidelines. Ready?
Equipment:
- Flathead
- Stepladder
- Screwdriver
- Plyers
- Wirestripper
- Hammer
- Personal protective equipment
Tips:
- The power should be turned off before you begin to staple a wire to the ceiling
- If you have storage spaces, consider LED light tapes, which are perfect to keep small, dark places lit. Moreover, they are easy-to-install. Providing the massive source of lighting, they are possible to be placed almost everywhere
- If you want to have your workspace lit in your garage, we recommend you to add under cabinet LED strips. Also, you can try lamps or light bars to brighten things up
- Mind appropriate wattage of the bulbs. To figure it out, multiply the square footage by the lumens
- Choose those bulbs with a high CRI (Color Rendering Index). You need it to make sure your garage lighting properly renders the colors of the objects in it
- Use natural light. If you are on a tight budget, considering incorporation of the window is a solution. Your garage will not only be properly lit, but also it would be warm there plus you will save money, not receiving the bills for electricity
Instructions
Step 1. Application of the Mounting Plate
Positioning of the mounting plate over the junction box, fit the supplier wire to the center holes. Make sure the screws that are already installed in the mounting plate that are facing downward in the position of the correct fixture orientation. Secure the mounting plate using 1.5 inch screws.
 Chris Robson Auto Mechanic
Pro Tip: Overall Illumination and Fixtures
First of all, as long as the vast majority of the garages suffer from dim light with shadows and uneven lightning, it is worth using fluorescent light fixtures. There are many various kinds of such lamps, and you may choose from 2 to 6 lamps to be installed in your garage.
Secondly, choose fixtures based on function. For example, there are ambient, task, and accent lighting fixtures which all have different function and can be placed at the certain area, depending on how much of light you need.
Step 2. Opening of the Diffuser
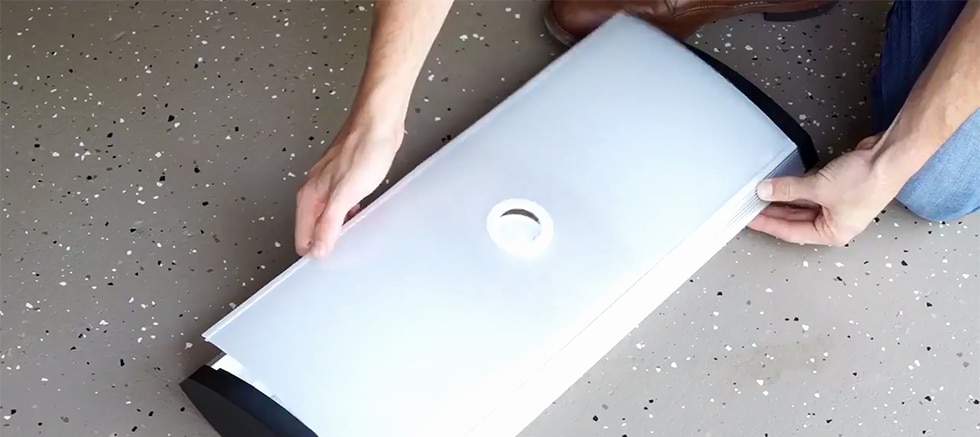
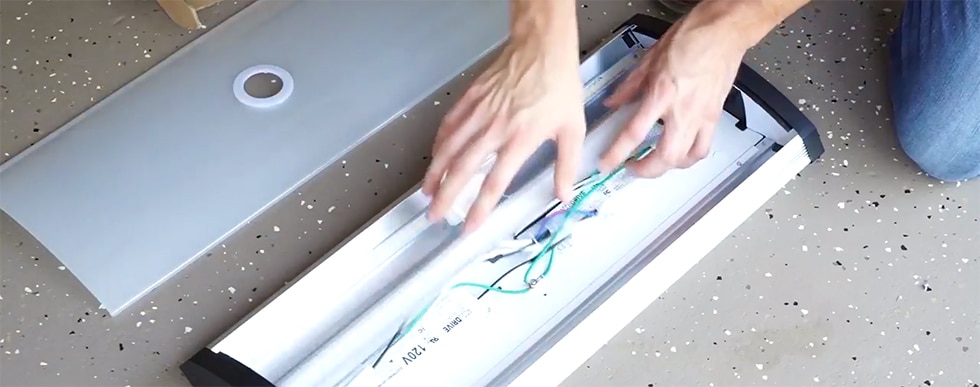
Remove the diffuser from the housing by grasping the edge of the diffuser near one end of the housing. Carefully squeeze the diffuser to release it from the housing and then continue damb the link of the diffuser to fully disengage.
 Chris Robson Auto Mechanic
Pro Tip: Installing of the PIR Sensor
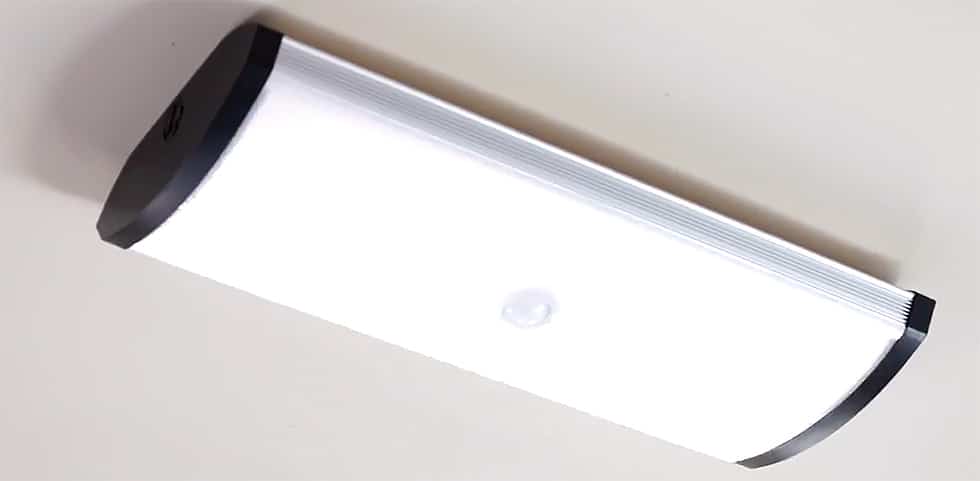
PIR sensor is the electronic sensor, which measures the infrared light that radiates from the objects in its specific field of view. To be more precise, such sensors are mainly utilized in PIR-based motion detectors. They detect whether human has entered the territory of it. Most of the PIR detectors are inexpensive and small. Please be sure not to lay the fixture directly on the PIR sensor as it is fragile and can break.
Step 3. Exposing of the Wire
To access the wire way first, remove the center screw from the wire way cover. Compress the sides of the wire way cover to disengage the extra housing. Rotate the cover open to expose the wire way.
 Chris Robson Auto Mechanic
Pro Tip: Led Bulbs
If you really aren’t in the mood of replacing of your lighting fixtures, you can always change them into LED bulbs.
It is worth mentioning that such lights will serve you for twenty or even thirty years, which is amazing. Moreover, you won’t need to climb the ladder, if you need to change them.
Step 4. Strucking with a Screwdriver
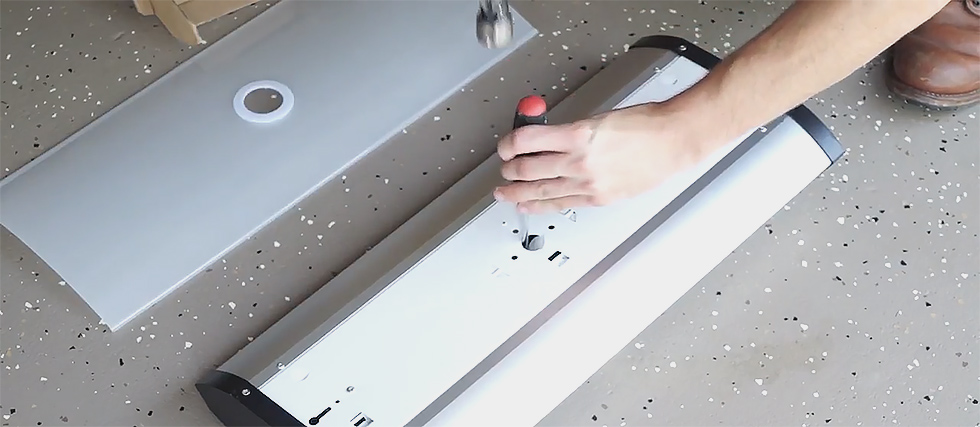
On the back of the fixture, remove the 7.8 inch knockout at the center of the fixture by placing a straight plate screwdriver on the knockout and strucking the screwdriver sharply with a hammer. Remove the slod by flexing back and forward until it comes off.
Step 5. Connecting Wires
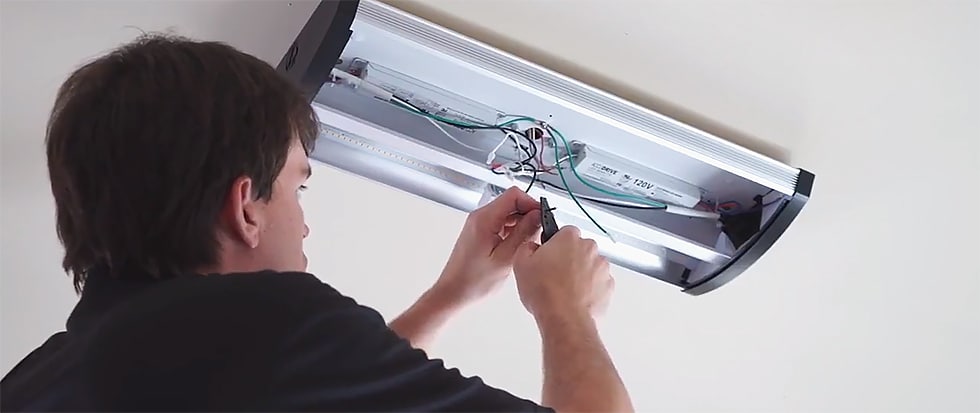
Lift the fixture to the ceiling and insert the power lit to the open hole. Position the housing over the 2 screws facing outward on the mounting plate and secure. Locate the single green, black, and white fixture leds. Using wire strippers, remove the insulating cap from each wire. Connect the green ground wire to the bare chopper wire in the junction box, using the wirenet. Connect the black fixture wire with the black power supply wire and the white fixture wire with the white power supply wire, using wirenets.

Pro Tip: If you have installed LED lights, but do not want to fumble in the darkness, trying to find your stuff, do consider installing sensory lights.
They switch on when somebody enters or goes out of the garage. It is a very practical thing, which is a must in every garage, to sum up.
Step 6. Closing of the Lamp
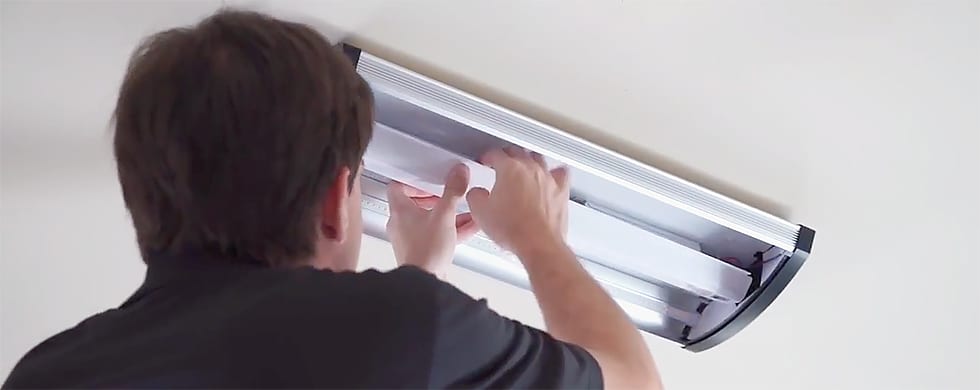
Bundle the wires with the tight grouping. Reinstall the channel cover, Rotate upward and snap back into place. Secure with a screwdriver. Make sure no wires are pinched between the housing and the wireway cover. Attach the diffuser, starting at one end of the housing. Carefully squeeze the diffuser to engage the opposite side of the housing. Continue this action down the link of the diffuser until it is fully installed into the housing.

Pro Tip: Adjust PIR Sensor Carefully
Prior to reinstalling of the diffuser, adjust the time delay on the PIR sensor to your desired settings. Maximum delay time is ten minutes and minimum is one minute. To increase the amount of time the fixture will remain illuminated, rotate the nop to the plus symbol.
Step 7. Turning on the Light
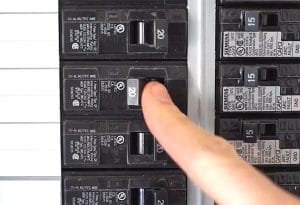
Check it out whether the light is working by turning on the electricity at the circuit breaker box and walk back into the room where the fixture is installed. The light would turn on automatically as soon as the motion is detected in the room by PIR sensor. Verify the PIR sensor is working properly by exiting the room and wait to see whether the light turns on at the selected time frame.

Pro Tip: Defining of the Real Light Needs
According to Illuminating Engineering Society (IES), it is recommended to have 50 lumens per square foot in each residential garage and, also, 300 lumens per square foot in each workshop area.
There are 3 categories of artificial lighting
-
- Ambient lighting is rather soft light, which is utilized in order to illuminate the walls and floors, helping you to park and walk safely
- Task lighting is rather brighter light, which is intended for storage and work areas to improve visibility when doing some attentive to detail tasks
- Accent lighting is a mediocre between task and ambient lighting in terms of brightness
</0l>
Conclusion
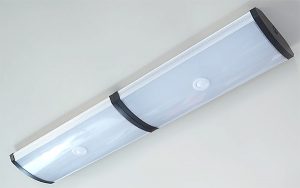
To sum up, you need to be very careful when installing the lighting in your garage because if you do something wrong, it will not work properly. Therefore, we recommend you to treat the pieces of advice mentioned above seriously.
Your garage may become your place of work or a room for your hobby. Meaning, you will spend a lot of time there. For instance, if your hobby is repairing and restoration of the old cars, good lighting in a garage is a must.
Well-lit place is recommended not to have issues with eyes like short-sightedness or farsightedness.
Hope you have got the idea of how to attach the lighting to the ceiling. We are looking forward to receive your comments. Tell us please whether these instructions were helpful to you because we want to know your opinion.
Be safe doing the job and have a great day!




Leave a Reply