Hi, guys, today I’m going to show you how you can take your old, dirty garage with a bunch of cracks. All you need to spend is about $150, and you can make it look like this.
Okay, so here we have a standard, average garage floor. That has got a bunch of stains on it. It’s dirty. It’s got oil stains, and it’s also got some big cracks in it from the concrete heaving, so I’m going to show you an easy garage floor kit that will make it look brand new.
Sweeping and Cleaning
The first thing we need to do is sweep it up and clean it up. Also, if you have any cracks, you want to make sure you sweep those and get any debris out of them, especially, if they’re wide, and they have a lot of dust and debris in them.
Floor Washing
Second thing we need to do is wash it. You want to wash that floor, rinse it off, and then what you can do as soon as you get some water on there, get a scrub brush and start scrubbing away on some of those oil stains and any other stains. Then, after you rinse that off, you also want to spray out those cracks and remove any other debris and dirt from those.
Pressure Washing
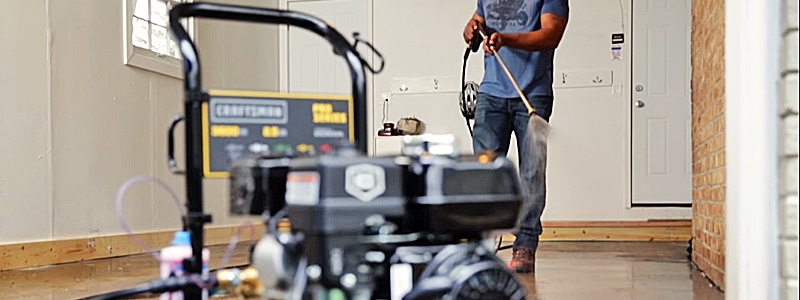
As you can see here, there’s still a giant oil stain that needs to be removed, and you may not get it all off, but we’re going to use something a little bit tougher to try to dig down and get some of that oil out of there, and anything else that could be on the floor. We’re going to pressure wash this floor.
Now, here’s the best bang for your buck. It’s a Rust-Oleum product called Epoxy Shield, and you can get it in gray or in tan color, and it comes with everything you need. Here’s a couple tools you need for the job. A broom, a wire brush, and a wire brush attachment.
Roughing Up Edges
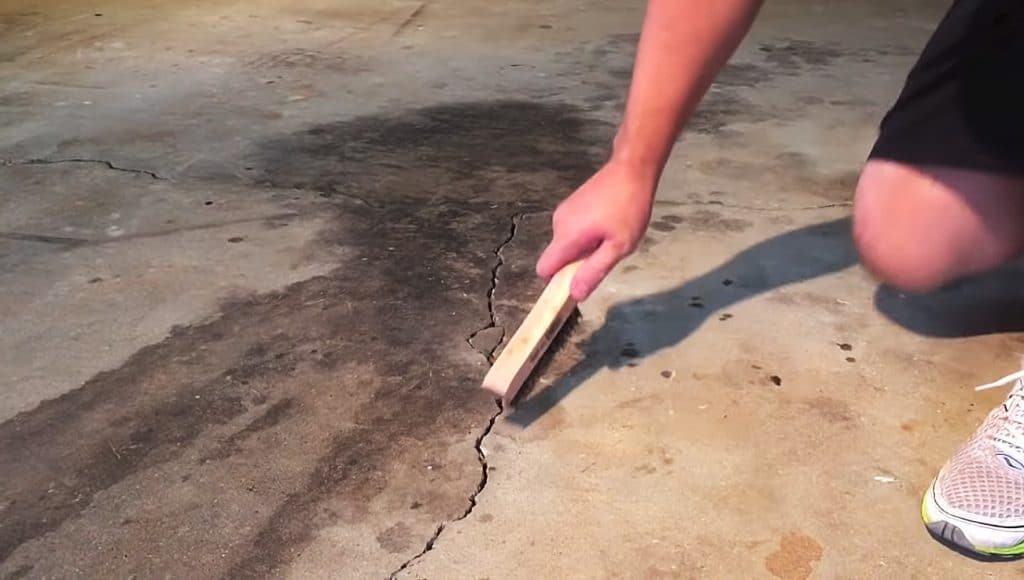
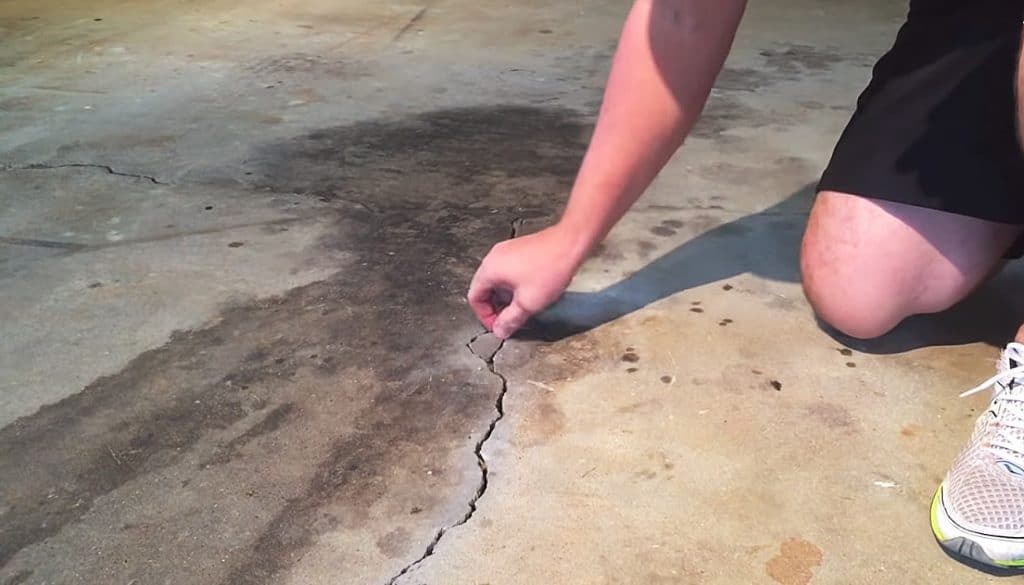
What we’re going to do with these cracks now (on the dry floor) is to go over it with a wire brush and make sure we rough up those edges and get rid of any other debris or any loose pieces, loose concrete like this piece right here. We want to get rid of those before we patch this crack with some mud.
Cement-mixing Cracks
Since this garage floor has giant cracks and other holes in it, you really want to make sure that you use a mud. You can get a cement-mixed mud that you can put on those cracks. But, that way, it will keep it from any moisture coming up from the ground.
Now, as soon as you get all your cracks done, you want to let it dry overnight, so it turns a nice white, and it’s nice and hard. Then, you’re going to be ready to paint. Here’s the product, the Rust-Oleum Epoxy Garage Kit. This is for a two-and-a-half car garage kit. It covers 500 square feet.
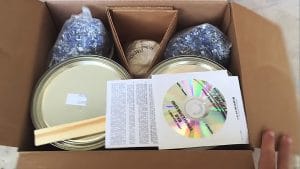
This is what comes in it. It’s got two parts. There’s two one-gallon cans in there, Part A and Part B. It comes with the flakes, and it also comes with the epoxy part. Part A and Part B, that’s the activator that you add. It also comes with etching that you can use on your concrete if you think you need to. Sometimes, you do, sometimes, you don’t.
Rolling Paint
What I did here already. I cut in around the edge, and I did just half the garage, and, now, it’s time to start rolling. Now, this epoxy paint is pretty thick, so you got to work pretty fast, and you can’t stop and talk to somebody or whatever. You got to get this job done right away, because this epoxy paint will dry out and start hardening up.
Sprinkling Flakes
As soon as you get a small section like this nice and covered up, then you can just take those flakes, and you just sprinkle those flakes in at whatever thickness that you want it to be. Then, just keep working in those small sections, so that you can reach and sprinkle those flakes on there and do half the garage, and then it’s time to do the other half.
You’re almost done, and you want to make sure that you conserve your epoxy paint, so that you don’t run out, and you have enough for the end. But, just keep doing small sections, sprinkling it on, making sure that floor is nice and covered.
Final Photo
Once you get the whole floor done, it should be about 24 hours until you can safely walk on it. Then, it should be about seven days until you can drive a vehicle on it. Be patient. But, this is what it should look like once you’re done. It hardens up, and it looks really, really good. It makes your garage look awesome.









Leave a Reply