Besides, one of the greatest damaging factors for your car’s plastic is the sun. Its rays can make the colors fade, making your car look dull. Therefore, if you want your car to shine bright like a diamond, you’ll need to take care of it properly to remove these obstacles that your car plastic came across.
In general, there are four main methods of restoring of the plastic
- Using oily substance (the disadvantage of it is that it is making a strong smell)
- Using detailing products (this way will protect your car only up to 2 years)
- Using a heat gun (one of the cons of using it is that it works not in all cases)
- Painting the damaged parts of the plastic (this method will leave permanent results)
To tell the truth, the last method mentioned above, which is painting, is the most simple way out of this problem.
To be more precise, you may use car plastic restorers to fix the plastic.
As long as the bumper is black and the closest to the road, this place is the best to put a car plastic restorer on. However, if your bumper is different, you’d better choose the restorer without black dye. It is very simple to use, if you dare. To help you, we prepared a guideline of how to restore faded car plastic of the door handle, in case you have any questions. Let’s begin to review!
Things you’ll need
- Black trim coat
- Tape
- Rubbing alcohol
- Gloves
- Towel
- Applicator
Tips
- Try to work not under the sun.
- Regularly, wipe your bumpers, trim, and other things before they become aging and fading. Prior to dying it, ensure there is no dirt, dust, or any particles there.
- Try not to scrub the plastic parts using scrubbing tools or abrasive cleaning solution.
- Add waxing into your car washes on a regular basis. It will protect your car’s coat and plastic parts.
- Of course, you can restore your car plastic yourself, but note that some of the car parts are situated next to the fabric parts like drink console and mirror. Meaning, in those cases it will be better to ask a professional detailer to do this work for you.
- Ensure you properly clean the plastic cup holders. This is because they can get coffee strains and moisture at the bottom of the cups. This may especially lower your car’s value. Therefore, it is important to clean them out.
- Wipe the fingerprints on the plastic parts with microfiber cloths and plastic cleaning solution or paper towels.
- Keep in mind that the dust, which is gathered on the slats of the heating vents and air conditioning may cause expensive damages of your car if you blast the compressed air. So wiping the vent slats is a must, using dust cloth regularly.
- As soon as you do dressing, remove the masking tape and then discard the paintbrush, if any.
- Note that if your plastic began to turn grey because of fading under the sun, you cannot reverse this process. That means you will have to restore your faded car plastic.
Step-By-Step Instructions
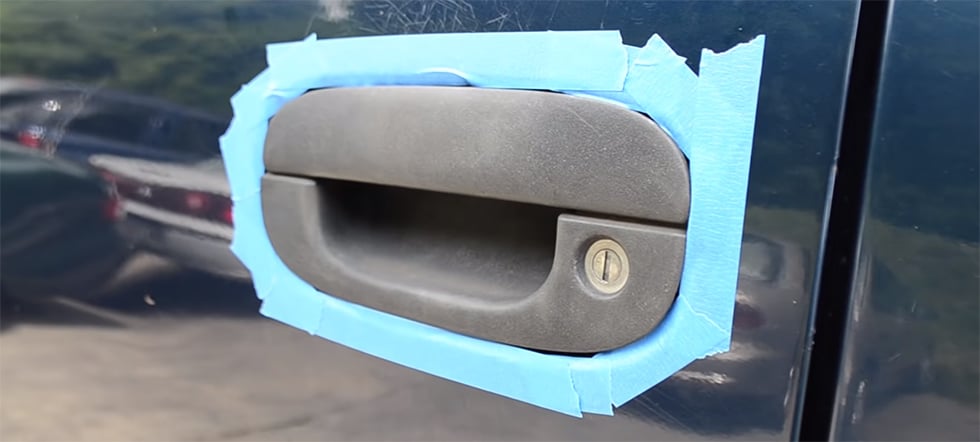
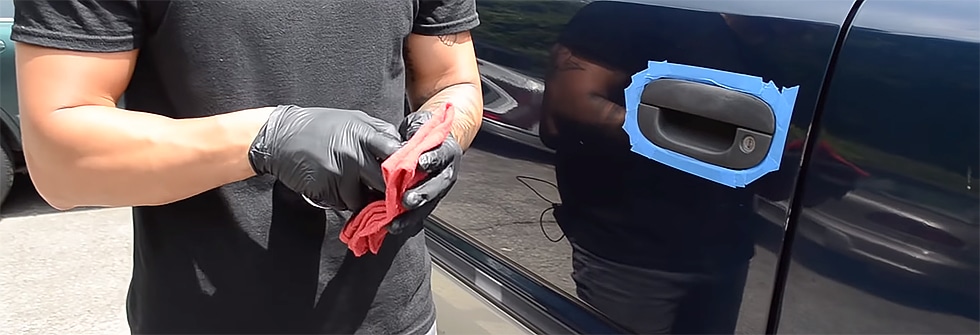
Step 1. Tape off area
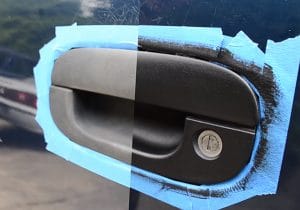
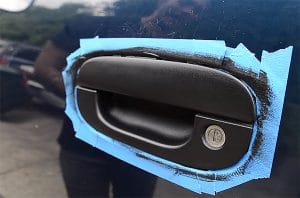
Prepare the area. Nast around the plastic. We don’t want the coating dye into the plastic because it will be very difficult to remove this paint since it is permanent.
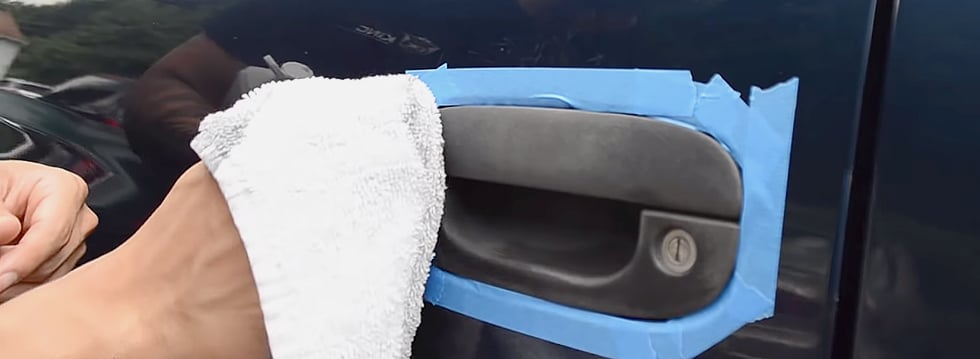
Step 2. Clean plastic
Go ahead and take some rubbing alcohol. Clean off the surface with rubbing alcohol from all the dirt because we want to allow the dye to really bond to the plastic fast. You can see there rubbing alcohol just evaporates there. It’s still dull and be looking. Clean it up and underneath so you make sure you clean there as well. Make sure the dye really bonds to the plastic and last as long as possible.
 Chris Robson Auto Mechanic
Pro Tip: Cleaning the Area
If your door handle has become chalky and overly faded, use the lotion to take off the dirt out of there. It might take you some time, but it is worth doing. Use microfiber cloth or pad when applying a trim sealant in order to prevent the plastic from any damage or scratching. Also, following the product instructions is a must. Besides, you should mind the timing of removal properly. This is because some of the cleaners might cause the plastic fading.
Step 3. Wear gloves
Put on some gloves. You don’t want the dye to put on your finger, right? Take a shop towel. Take the dye. Shake the coat up. Apply a little bit on the towel.
Step 4. Apply trim coat
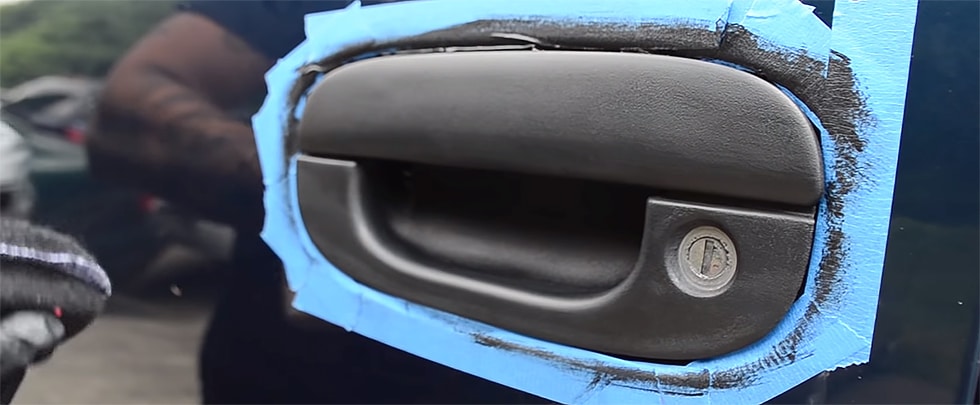
Put it on the plastic. A little bit of this product does go along the way. It does dry up very quickly, especially, if you are working under sun. Apply more at the towel. Put it on the area. It will dry up within minutes there. If you notice any type of area you need to touch up, go back over with as many coat as you like. Pour it to the towel here. Get all inside the door handle.
To get underneath you’ll have to lift it up. If you do get the dye onto the paints, you can’t just simply wipe it down with a towel, but wipe it down immediately as soon as you notice it’s on there. You don’t want to dry up on there and it’s permanent. It’ll be very difficult to take off when it dries.

Pro Tip: Using Spray
Apart from coating, you can also use spray. It is very easy-to-use and prevalent. If you utilize it, it will give a nice shine and clean surface. The product can be easily applied to hard surface. It is superb if you don’t have much time to spend on dying.
Step 5. Let the dye dry
The nice thing about the trim coat is that it has protection from UV solar rays, so it will stay permanently with natural good look, depending on how much the sun and how it will be cared off. Again it’s not just the simply daily wash off, a day later, a couple weeks later. Again it’s a permanent dye that will really give this nice look to this plastic for a long time. So we will put a little bit more protection to this plastic.

Pro Tip: Recoating
Before you finally dress and wipe the area, it is recommended to apply coating for a second time. Depending on the type and degree of damage, you may apply coating several times.
Step 6. Dress the plastic
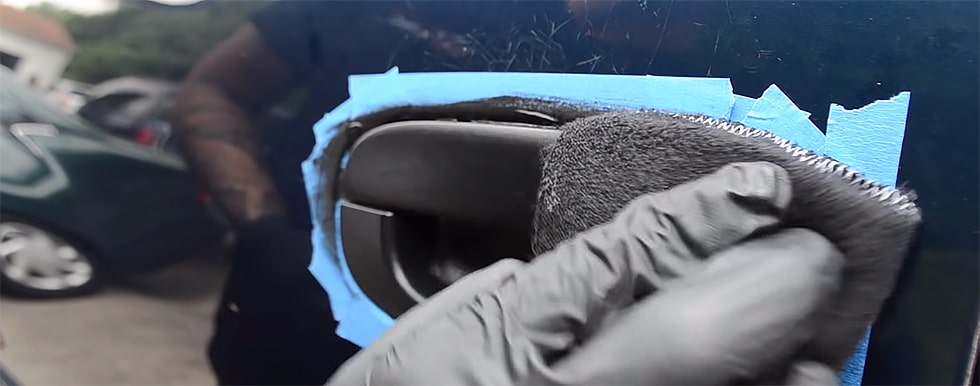
As a kind of finishing touch, you should give a kind of little bit shine. It means, you should use revival bumper & trim dressing, applying a little bit of it to the applicator. Go ahead and work it, applying the applicator to the plastic of the door handle. As you see, it gives it natural rich black color. Wipe it away. You can see that this door handle looks brand new. You can see that it is simple and as easy as that. That’s it!

Pro Tip: Use Water-Based Dressing
This thing works properly in order to protect your trim from UV damage. If the plastic is okay, such a dressing will make the plastic be clean and look nice for a long time. In order to provide the surfaces with satin finish and also for less slick feeling, cutting water-based dressings with water is recommended.
Conclusion
However, don’t get upset because restoring of the faded car plastic is a very easy process. Moreover, it won’t take you a lot of time. However, you should follow the steps carefully to avoid mistakes. These instructions are universal, meaning, you can apply them to any part of your car, which is made of plastic.
We do hope you liked these guidelines that we prepared for you. You did, didn’t you? If yes, please share your opinion with us in the comments below, telling whether it worked for you and did you get the idea. Wish you all the best, using your car, and have a great day!



Leave a Reply