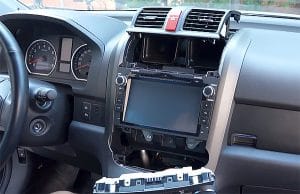
It is worth mentioning that you may replace the car stereo yourself or ask a professional. However, if you want someone to do it unless it is your friend, you’ll have to pay them. Of course, doing it yourself is much cheaper, letting you save money. At this point we are going to help you with our step by step easy guide. Ready to follow?
Things you’ll need
- Dash kit
- Pliers
- Wire strippers
- Keys
- Stereo
- Nylon prying tools
- Flat head screwdriver
Tips
-
- Some people think that it is difficult to remove the car’s stereo. To tell the truth, it depends on the ability of a person to pick up new ideas and follow guidelines carefully. One of the most complicated things to do when removing the stereo from the dashboard is keeping things whole. For that, you should be careful when taking all the parts of the stereo out.
Have a look at car’s manual before you begin to remove old car stereo to find whether there are specific instructions. If there are such instructions, it will be better to take them into consideration. Of course, it will be awesome if there are the guidelines not only in the form of written words, but also in the form of schemes, pictures, and photos. In particular, it is essential for such things as wiring. If such instructions are missing, we recommend you to surf the net and find them online. Also, if you haven’t ever had the experience of car stereo removal, it will be ideal to ask the technician for help. Additionally, you may watch Youtube videos or google Google.
- Find the necessary tools. It is worth mentioning that in the vast majority of cases you won’t need specific tools. To add more, you will need Nylon prying tools, which make it possible to remove the stereo, not damaging the dashboard. Nevertheless, don’t rush to buy them, if you don’t have them yet. This is due to the fact you can easily get them from online retailers or the closest construction supply store.
- Prepare special containers for each part of the car’s stereo. It’s important to that in case you’ll wish to reinstall the stereo or some part of it in the future. Moreover, storage of even the smallest parts of the car’s stereo is a must if you’ll decide to sell them. What is more, if the stereo works quite good, it’ll be possible to sell it for a high price. Meaning, you can reinvest the income into your next car’s stereo, saving money.
Instructions
Step 1. Creating some space
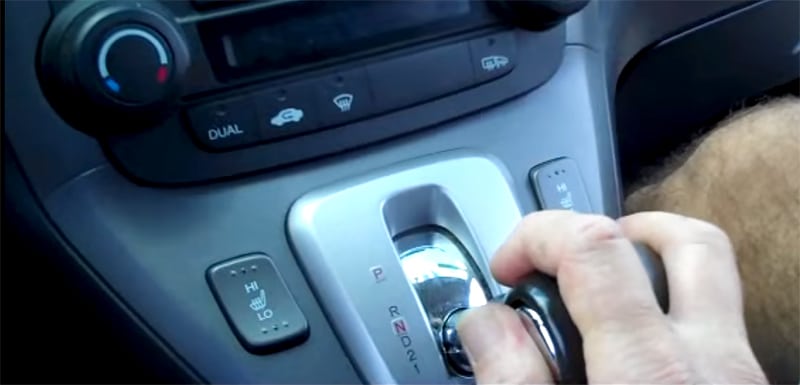
Place the key in the ignition. Step into the parking break. Shift in to the lower gear to have more space, removing the stereo.Chris Robson Auto Mechanic
Pro Tip: Disconnecting the Battery
Before you begin to operate within dashboard, make sure the battery is disconnected. For that, turn off the engine. If you try to attempt to tamper with any part of the car, which is connected to the fuse box, you might face shocking results. The next thing you’ll need to do is disconnection of the negative cable from the car’s battery and isolating. To do that you’ll have to put on the one side where it won’t be able to come into contact with any conductive thing. It will be perfect if you remove your car’s battery completely, to add more.Step 2. Pulling the bottom panel out
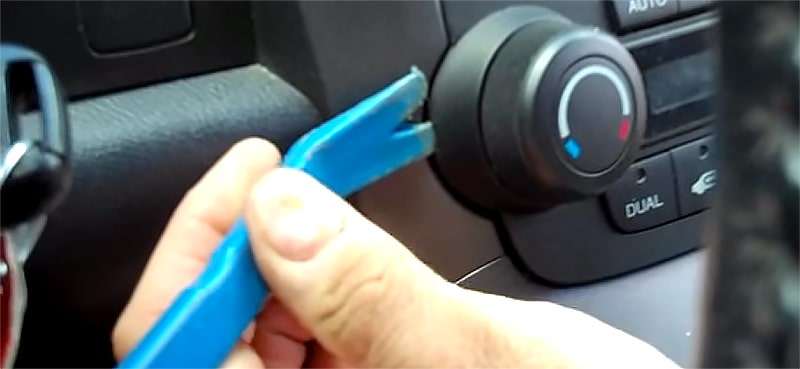
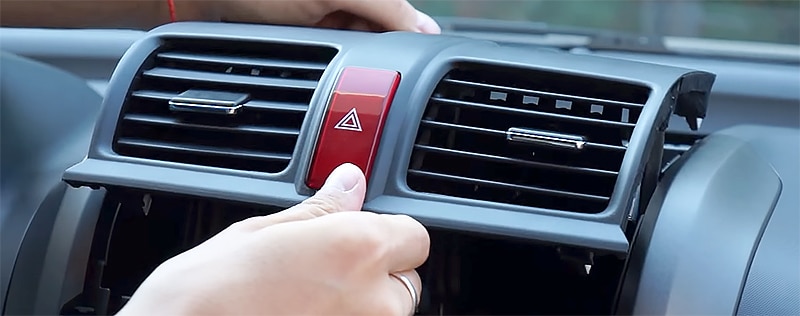
There is a little notch at the side of the ac controls. Pull the panel from the dash with a flat head screwdriver rather than prior than the side to. Pull the panel out and down so that it will give us the access to the lower mounting screws.Pro Tip:: Figure Out Which Type of the Removal Tools You Have
It is important to note that you’ll need a various type of removal tools for some of the German cars. For instance, for some of them, you’ll need to utilize small screws that are hidden behind the bezel. Therefore, you’ll have to consult with the manual of the stereo.Step 3. Pulling the top panel out
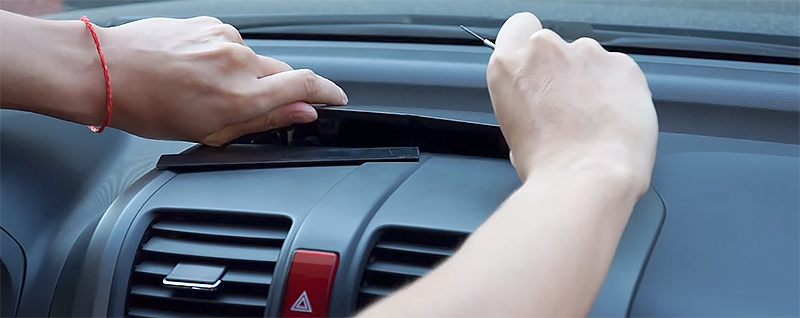
Move up to the top. There is a slot panel, which you should push up. Lift it up and remove. This will give the access to the next panel.
Step 4. Pushing the middle panel out
Push out the next (middle) panel, grabbing it and tagging it forward. Release the clips on it. Set this panel up, without removing it. This will give us the access to all the mounting screws.
Step 5. Removal of the screws
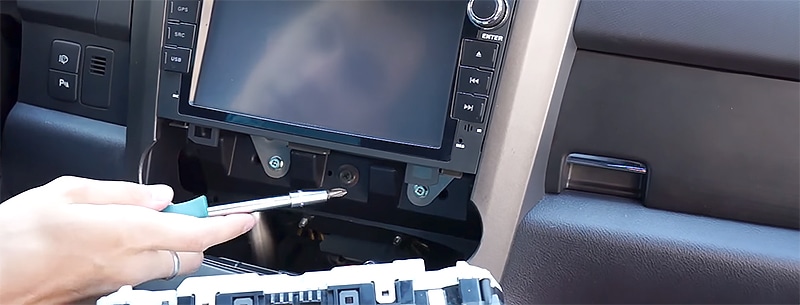
Remove the top two screws, where the middle panel was. Remove, also, the bottom two screws. Catch the screws as they fall down so they won’t fall down into the bottom. One screw on the right and one on the left. This will allow us to pull the car’s stereo from the dash.Chris Robson Auto Mechanic
Pro Tip: Loosening the Screws
First of all, before removing of the stereo, you should use the proper type of the screwdriver. There can be a couple of screws that are placed in crannies and nooks. Therefore, you’ll need to place all the screws in the container in order not to lose them or mix them with other nuts, bolts, and also screws. To do that, please utilize the container with magnetic features.Step 6. Pulling the car stereo out
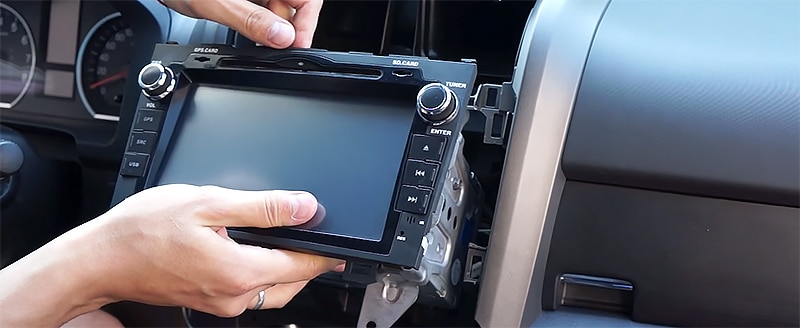
Pull the car stereo from the dash. Lower them, when doing it. This will give the access to all the connectors on a dash.Chris Robson Auto Mechanic
Pro Tip: Wiggling It Around
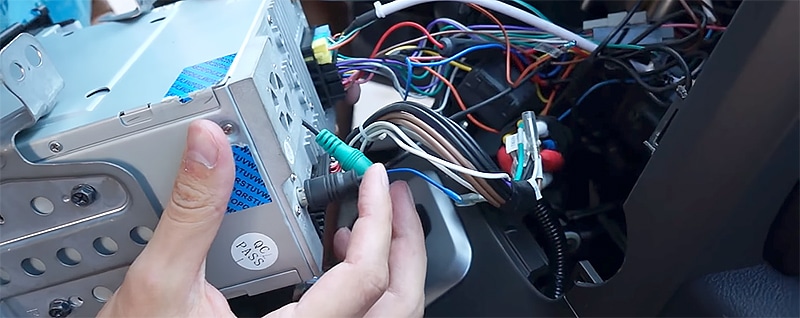
Sometimes you can remove the car’s stereo easily to get the access to the wires, connecting it to the various places. However, sometimes you may need to remove several panels to get to the car’s stereo. As soon as the car’s stereo is removed, you should remove the wiring. In the vast majority of cases, you’ll see only two wires behind the car’s stereo. Besides, you’ll find the wiring clip, which you’ll need to take care of. It is responsible for the reduction of the vibrations effects and stabilization of the wiring harness.Step 7. Releasing of the connectors
We have the blue connector here, a trigger, antenna that has a trigger at the side of it. Push that trigger down. It allows you to release the next green connector. Use flat head screwdriver to put down on the trigger so that you can release that one. Move to other connectors across the back here. All the connectors have triggers on them and if you push the trigger down into the connector, they’ll all release. Release all the connectors, either white, green and blue.Chris Robson Auto Mechanic
Pro Tip: Removal of the Wiring
Wiring and the stereo can be damaged when you begin to pluck the stereo out. Therefore, it would be better to loosen the wires first. For that, just do repetitive and gentle pulling and pushing motion in order to slacken the wires. However, yanking out your car’s stereo might be risky. Apart from these actions, you might want to try to move the stereo right and left slowly in order to loosen the wires. As soon as the wire’s grip is lessened, just pull the stereo out easily.Conclusion
We congratulate you with removal of the old car’s stereo! As soon as you did it, you can install the new one. Due to the fact all the stereos are standardized, you can easily do it, placing the new one into a gap. So it’ll be very simple to do. That’s it!
All in all, these steps are simple to follow, aren’t they? Nevertheless, you have to be careful when releasing and pushing of the panels because they are made with plastic which is fragile. This means that removal of the old car stereo might be a complicated kind of work for someone, but will let you save money. However, again, if you still are not sure how to remove old car’s stereo, you would better ask the technician, but they will require some bucks from you. So you might either be risky, or hard-working because you’ll need to earn extra money.
Did you enjoy the instructions? Hope they don’t sound geek to you and also that this guide has been helpful. If you liked the article, please tell us your opinion, leaving comments. Enjoy the music that is coming out of your new stereo system and have a great day!
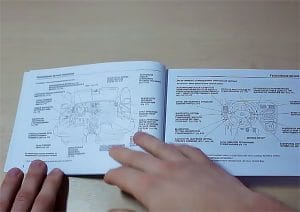 Have a look at car’s manual before you begin to remove old car stereo to find whether there are specific instructions. If there are such instructions, it will be better to take them into consideration. Of course, it will be awesome if there are the guidelines not only in the form of written words, but also in the form of schemes, pictures, and photos. In particular, it is essential for such things as wiring. If such instructions are missing, we recommend you to surf the net and find them online. Also, if you haven’t ever had the experience of car stereo removal, it will be ideal to ask the technician for help. Additionally, you may watch Youtube videos or google Google.
 Chris Robson
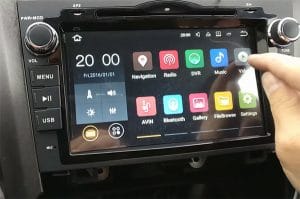 We congratulate you with removal of the old car’s stereo! As soon as you did it, you can install the new one. Due to the fact all the stereos are standardized, you can easily do it, placing the new one into a gap. So it’ll be very simple to do. That’s it!
Leave a Reply