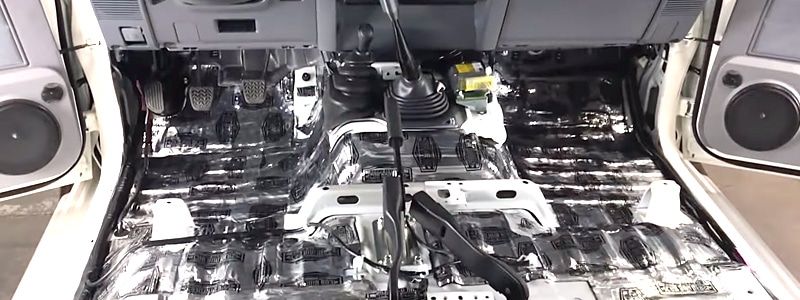
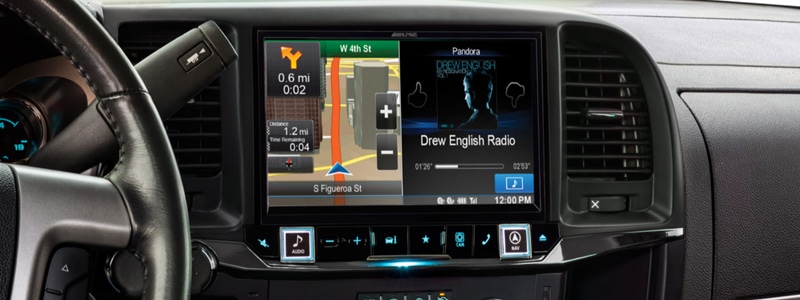
Building and installing a custom car audio system can be an awesome, very rewarding experience. There’s nothing better than completing the install, sitting back, and just enjoying being completely submerged in your favorite music. But there’s a problem. How in the world do I get started with my system? What do I need to do first? Look, I understand. Car audio can be difficult, and it can be complicated.
Goals and Planning
So before we get started, I just want to say that I think it’s really important that any time you start any car audio project, you think through the steps. I feel like, a lot of times, the reasons that people end up with a system that they’re not completely satisfied with is they really didn’t think through this process. So let’s dive in and think through the average system creation.
First Things First

Now, obviously, with a car audio system, there’s literally a million different combinations and things that we could do.
But I want to break it into three basic tiers that you can kind of pick from. Now, these three tiers are kind of structured based on how complicated they are, from simple to most complicated. But something I want to stress is you can have a wide range of budgets, as well. So just because you’re doing a simple install, you could have a much higher budget than something that is not as simple and you use maybe lower-quality gear. The point is, the budget doesn’t necessarily define exactly which of these tiers you’re going to be within.
Tier One
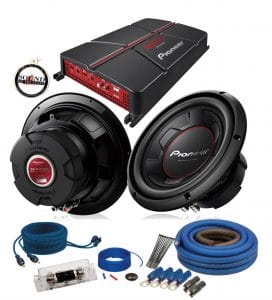
I consider this the first tier that you can select from because this is the tier that gets you basically the most bang for your buck, the most change to your audio system for your dollar. Again, depending on the subwoofer and amplifier that you pick, there could obviously be a wide range of different budgets that you end up in.
Tier Two
Now, Tier Number Two is doing a subwoofer, amplifiers, and speakers. This is when you start to get into truly higher-performance sound, where you’re not only adding bass, you’re also improving the mid-range and the highs within your system. This is important because you want the mids and highs to match the performance of the subwoofer. Notice, up to this point, I haven’t mentioned custom fabrication, and that’s what comes into play in Tier Number Three.
Tier Three
Tier Number Three is subwoofers, speakers, amplifiers, and additional equipment, like digital signal processors, and also making sure that the install is completely integrated into the vehicle. So that’s when we start taking into account mounting the speakers in the best location to have the best audio, and also doing custom things like custom door panels, custom beauty panels, to tie all of the installs into the vehicle. So now you know that one of the best ways to get started with building a system is considering your goal.
Now, I know everyone out there has the idea that, “Man, I just want the best system I could ever possibly have,” but you have to be realistic. If this is the first system that you’ve installed, it might be best to just go with an amplifier and subwoofer that you can kind of learn and progress. You don’t necessarily want to dive into a super-complicated Tier Three install, where you’re doing all sorts of custom fabrication and everything right off the bat. You should plan on working up to that point. And there’s nothing to say that you can’t start at Tier One with your initial install, go through the whole process, get everything installed, and then in the future upgrade to Tier Two or Tier Three.
Planning Things Out
Now let’s move on to the next very important part of the process, and that’s planning. Something that’s very important to understand is that the install quality goes a long way in the total performance of a system.
A great install with average equipment can easily outshine a poor install with high-level equipment
Now, a big part of the planning phase is figuring out exactly what will fit and what is compatible with your vehicle.
Source Unit
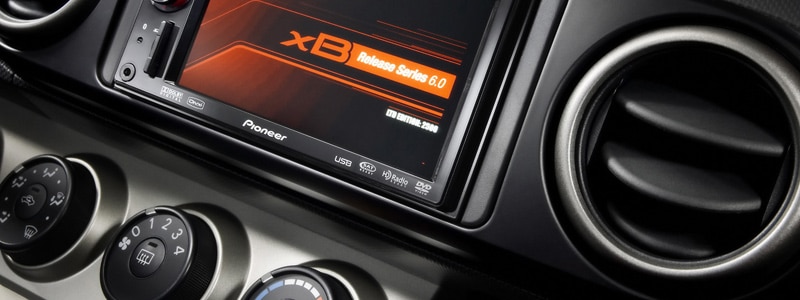
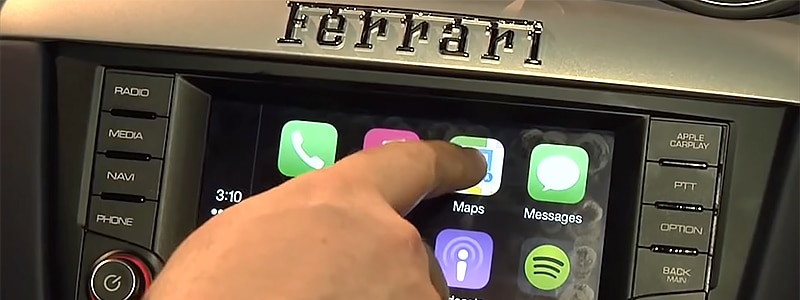
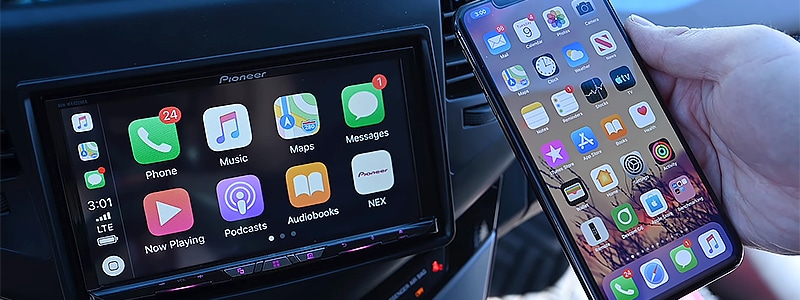
Along the way, you can analyze how these different things fit within your budget. I always think it’s a good idea to start with your source unit. You basically need to make a decision on whether you want to use the stock radio or if you want to upgrade to an aftermarket radio. Now, in today’s day and age, a lot of different vehicles are starting to have climate controls integrated into the radio, along with other systems that are part of the vehicle, so that’s not always an easy choice to just say, oh, I just want aftermarket. This is something that you’ll have to research and plan for during the planning stage.
Now, if you’re planning on adding a subwoofer, this is the time to measure the part of the vehicle that you plan on putting it in. Something else to consider is, how much additional power can you be pulling from the car’s electrical system? You can’t always simply add a 10,000-watt amplifier without upgrading the electrical system of the vehicle, so this is something else that you’ll need to research and plan for.
Speakers Sizes
During the planning phase, if you plan on adding speakers, you’ll also need to research what sizes are already installed in your vehicle so that you can select those sizes. And if you’re going with more of a custom fabrication route, you can obviously pick whatever speakers you want to, but you’re going to need to consider where you’re actually going to mount them and do some planning on that side. In fact, you’ll need to take into account what crossover points you ultimately plan to use and what size speakers that you should use so that you can cross them over with each other before they start beaming. I have more about beaming and crossovers also available in a sound quality playlist that you can check out up here.
